
NORTHERN PHOTO
Artistic Human Form?

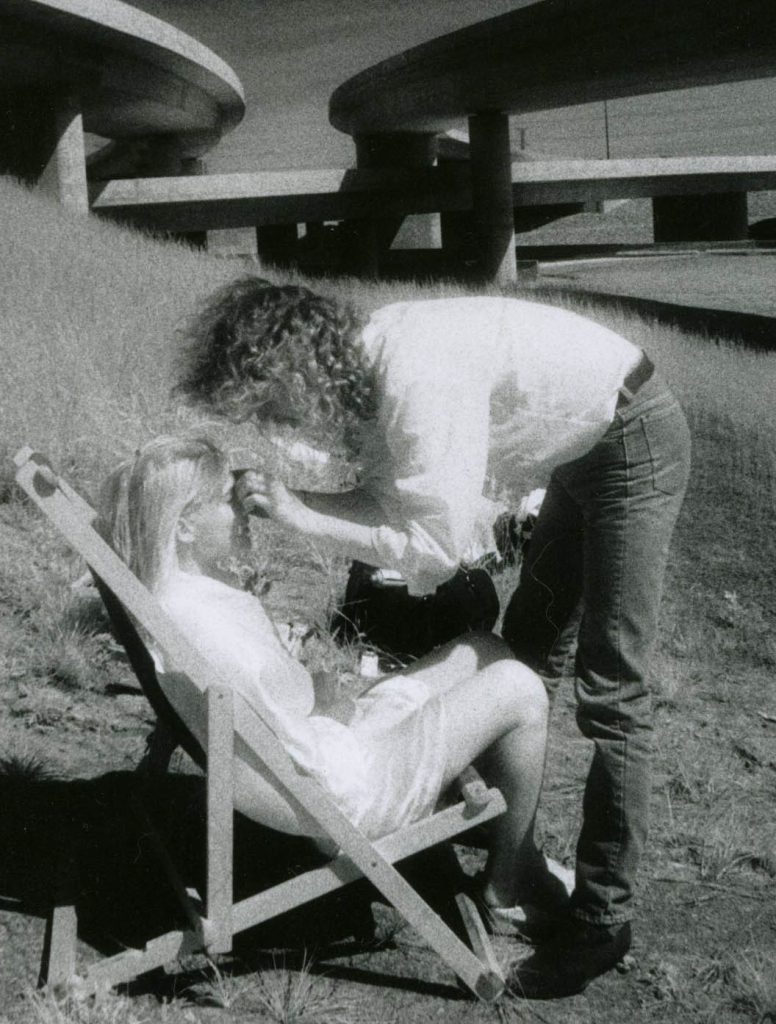
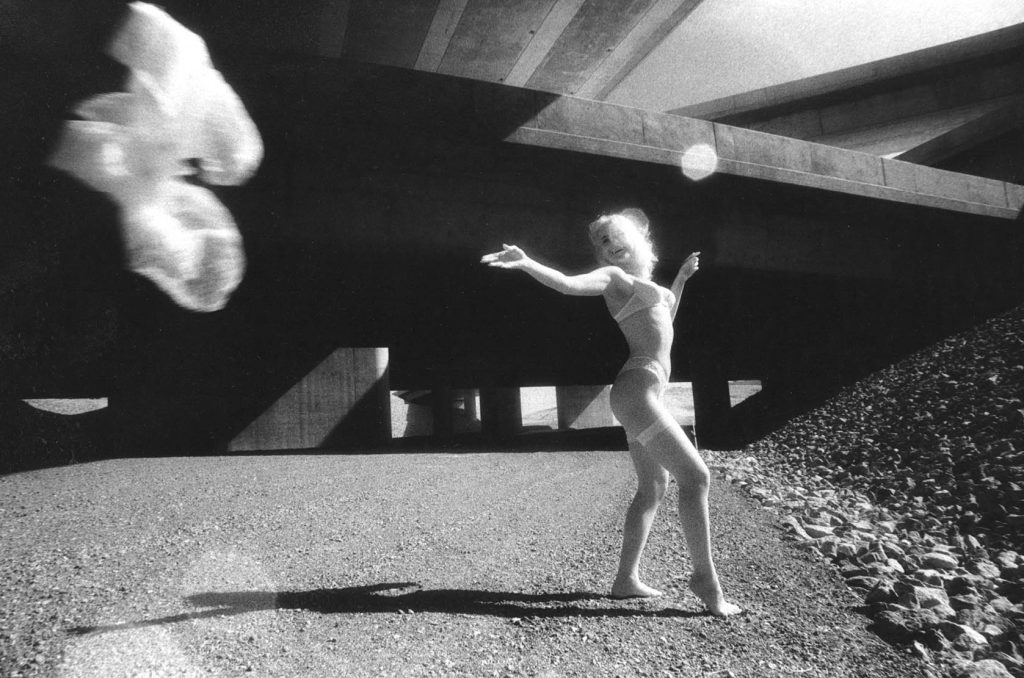
Just north of my past Toronto studio at the time were these wonderful curves of Hwys 400 and 407 being built. I would zoom past them from time to time and wonder …what if? So I did a lot of “pre-visualization” or whatever the professor back in university talked about. I had no idea at the time but accepted a lot of this photo education stuff as necessary as the parabolic dispersion theory of light from an umbrella. Maybe one day it will come in handy. This however was a visual fantasy which may never be “Visualized”. There were so many obstacles. Lots of men running around with hardhats carrying sticks, shovels, clipboards etc. Tractors and bulldozers throwing up thick clouds of dust and the noise! My first course of action I thought would be to go straight to Province of Ontario and get permission. They would probably grant me a couple of hours and stop all the mayhem so I could get my shot.
I started my list of things a photographer needed before an important shoot. One gnawing thought was that I wanted the black sky and white grass one got from infra red film. I had no experience with infra red film or the process. This was back in the 90s so there was no online info, just books.
Wow, B&W iR film was a can of worms. It had to be kept cold, loaded into my Nikon F3 in total darkness then go out and shoot. No eye focus. Infra Red light comes from a different planet and plays by different rules. The focusing ring mark had to line up with a white dot on the lens put there for this purpose. Ok fine. Let’s get a model and makeup/hair artist and get this party started. Our convoy of 3 cars trundled up the 400 to the 407 cloverleaf construction where it says “Do Not Enter “. They followed me in and we all parked.
I didn’t exactly get around to asking the province for permission so I thought we would just wing it. If you had ever brought a net through a loaded gold fish tank you may have seen this phenomenon. Imagine- a man with a shoulder bag, a shaggy haired artsy guy with a makeup bag and a chair for the model to sit and a half dressed girl marching confidently through a construction site. No one came near us. As a matter of fact they gave us lots of extra space. We did hair and makeup for a half hour and still no one approached. Then we had to shoot quickly. The film was heating up on this hot summer day and who knew how long before the police came rolling in. Now to focus this confounded thing and where is that white dot. Does it really matter? The amount of light calculated was a nightmare as well. I just returned to 125 shutter speed and cranked to f22 hoping the depth of field on the wide angle lens would capture the image sharp enough. And don’t forget the #25 red filter to go over the lens. I couldn’t find the right size so I taped it on.
I wanted to order pizza and have a beer at the end of this shoot but decided not to.

Some would say I should have left the image at that point. But I wanted to add to the story. In my mind the young woman is clearly reaching out to forces beyond and I felt she should be answered.

I felt her question to the universe was “Will I ever get married?”
And the Smarties returned with the answer of “Yes”. And maybe more than once.
The truth is that once you have created an image you write anything you want into it.
No AI! Hand processed B&W iR film in Accu Fine. Hi-Res scan in a drum scanner and on to my computer and into Photoshop!
Does photography exist any more?
1) The primary camera feature designed to automatically balance highlights and shadows is High Dynamic Range (HDR), which merges multiple exposure levels into a single balanced image. Manufacturers also use proprietary names for similar in-camera processing tools, such as Active D-Lighting on Nikon, Highlight Tone Priority on Canon, or Highlight/Shadow Tone Curve adjustments on Fujifilm. .. From Google
There are many “Professional Photographers” who after shooting “Raw” HDR images will sit at an editing suite and create the necessary adjustment layers then merge them into a Perfect Picture. (Nikon example) The result will be outstanding but no better than the result of another photographer who happened along with the right exposure and lighting conditions and shot from the hip.
I have had dynamic arguments with photographers and even camera shop sales people who claim this was impossible to happen. That Raw images use millions of colours in 12 to 16 bit files so must have much higher colour fidelity than the common 8 bit files found in jpg files. This is true however these wonder files can’t be exported to our lowly jpg arenas where most images are seen.
The HDR effects are exportable but not so much the raw. You can shoot a subject with the Active D-Lighting on in both raw and jpg at the same time and see for yourself. The jpg may need some tweaking but in my experience not near as much as the raw. And the jpg tweaking might amount to 1 to 3 minutes where as the raw more than triple that.
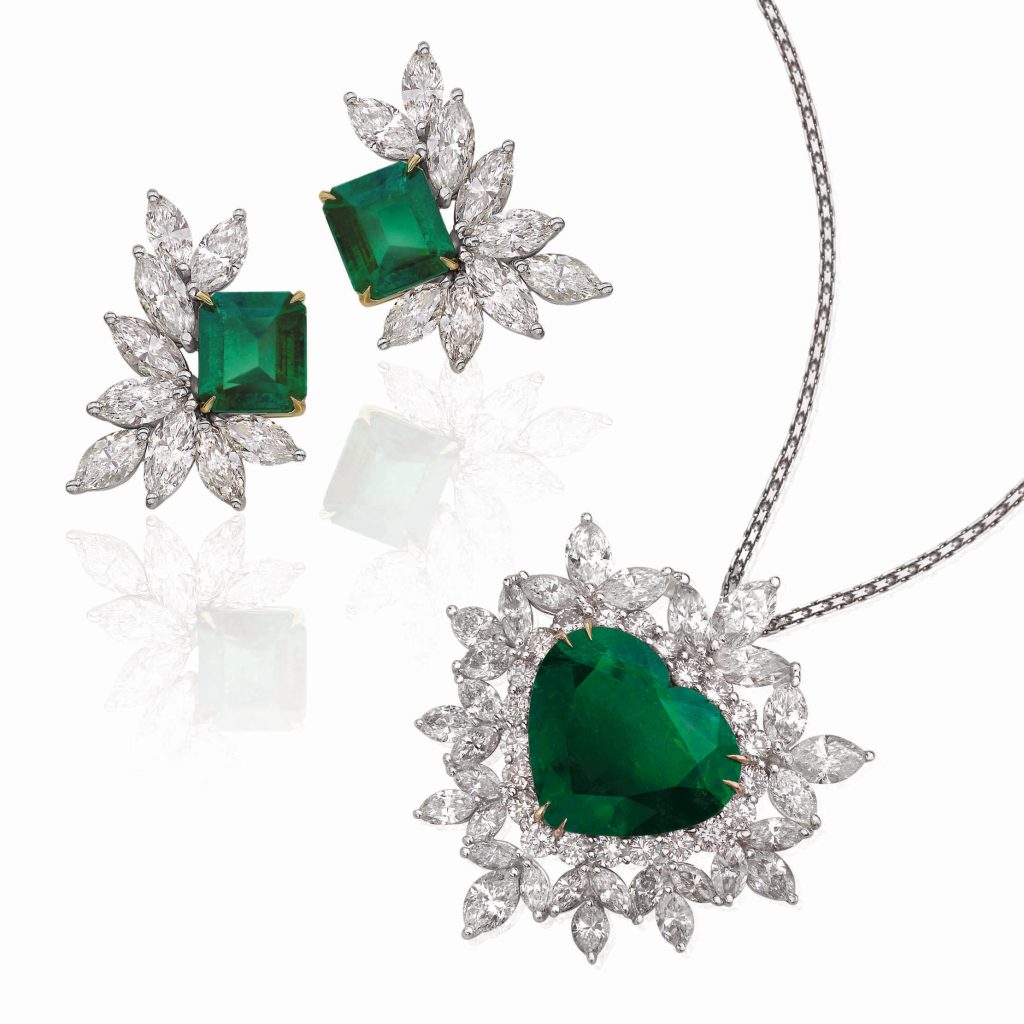
One of my most powerful arguments happened during an high end jewellery shoot. It was on location at the jewellery head office as insurance would not allow these expensive pieces to leave the premises. I took over the board room and was shooting away when an accountant from another office happened in and questioned me about my shooting techniques. He was angered that I was not shooting raw files and went directly to the CEO who came to me and demanded that I explain what I wasn’t using the best files possible for these expensive ($250K) pieces.
I explained that I felt the jpg was as good and the raw and even did the comparison test right in front of them on my laptop. The raw came out about 5% sharper than the jpg however suffered from another 5% gain of grain which the accountant said could be smoothed out with a special blur filter.
I then said to the CEO that half the assignment was already done and in jpg. And that I would shoot the rest in raw and if anyone could tell which was which I would not charge for the job.
The challenge was accepted and when the catalogue was printed there was no difference in any of the shots. I got paid.
Back to 1) at the top. Today’s average cell phone does all of that in a micro second and perfectly. The only problem is it won’t print larger than a postage stamp. It can go to about 5X7″ on a screen, phone or web page @ 72 dpi but doesn’t do well @ 300 dpi needed for print.

Steal the Thunder
As a new photographer still wet behind the ears I would often find my self saying, “I can do that” to potential customers. And in this case being the client was a Body Armour factory I just assumed it was some kind of strong clothing.
The details of the assignment were a little more complicated. The item was a bullet proof vest. It was to be shown in action with no danger to to anyone being shown. But the fact that it was defense against some of the most powerful forces in the world should be illustrated. Also the the lifesaving ability would be a plus.
No problem!
The was a lot of “pre-visualization” going on here.
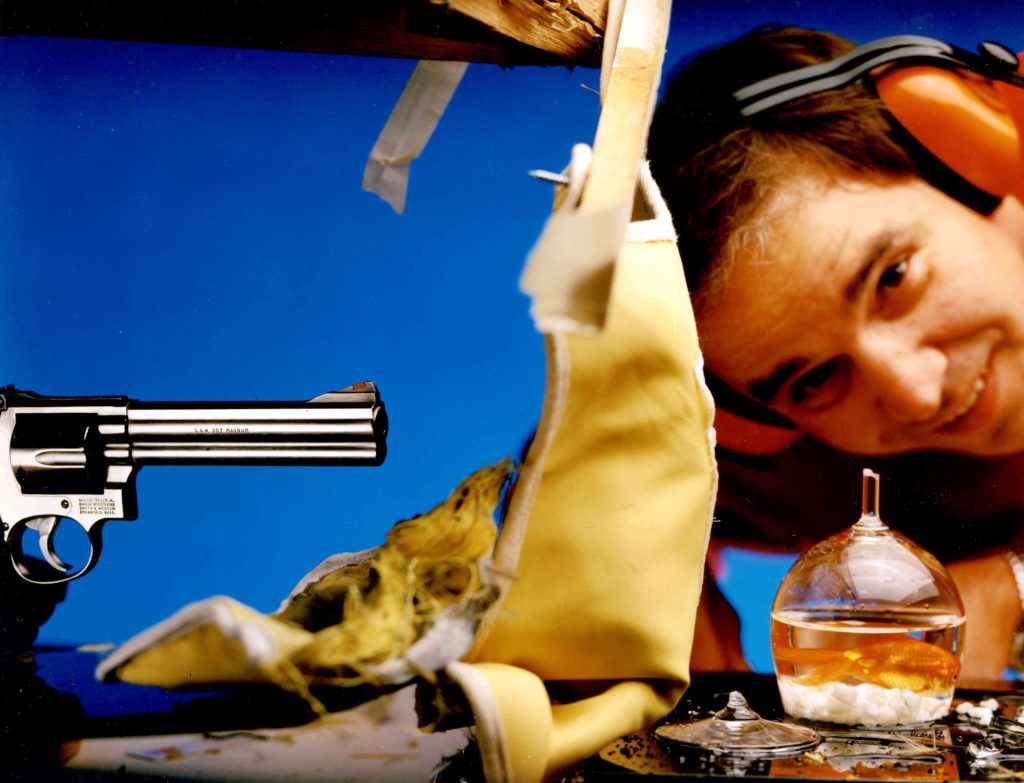
I was able to get my hands on a .357 Magnum and propping up the bullet proof vest should be easy. I want to show the fragile life being protected so ended up placing a goldfish in a crystal water glass on the other side of the vest.
Now the techical difficulties were too many to mention so I will fast forward through them. (Do not try this at home!)
The shot (photo) required was a 4X5″ colour transparency(EPP) The muzzle flash had to record so very simple. All lights were out. The camera was fired open on a BULB release so I had to make my way over the the gun which was firmly mounted on a solid stand and fire it. I had the strobe wires sewn into the vest so the speeding bullet would mash the wires into contact and set off the strobe light. This all happened pretty fast and in the dark with safety glasses and ear protection. What happened was… BANG/FLASH, then drip, drip, drip. I thought oh no, the vest or the set had failed and now I would have to clean up pureed fish. I felt my way to the camera in the dark and closed the lens. Then slid the slide back in the film holder and then turned on the lights. To my amazement everything was kind of OK. The set came loose as I hoped it would to prevent the bullet from bouncing back and my fish- was Alive and Well. The sound shock must have shattered the stem of the glass and sent the bowl up, around and like an ice cream scooper caught the fish and most of the gravel and water then landed safely on the plexy glass. I thought no one would believe this so I grabbed the film holder with a backup film on the other side and rammed it into the Cambo 4X5 and fired another shot with me in the miracle shot.

Now I had to pray that all I had engineered was safely exposed of my sheet of film and the that the lab folks were having a good day and would process my precious slice of film perfectly.
These were the days before digital, Photoshop and AI couldn’t touch this.
Copyright Dupont of Canada by Ryk Narell